Markdown is an incredibly simple and easy-to-use language. So why wouldn’t it normally be a great choice for writing your resume? It has all the best features for making great content quickly and painlessly. You also have the freedom to write it wherever and however you like.
Well… this is where Markdown starts to be a little more challenging. Outside of your favorite Markdown editor, Markdown doesn’t look all that appealing. Typically, exporting it as a PDF from your editor yields very mixed results. This is because most editors aren’t suited for making great documents. This is where Stellar Pages comes in. In this guide, we’re going to cover the following:
- How to write your document
- Creating a basic HTML header
- Styling your document
For a full reference of the example from this article, see sp-example-resume.
Writing Your Document
When it comes to writing a resume, the content structure is very simple. Most resumes consist of headings, lists, text content, and a well-structured document header.
Creating Heading
Headings in Markdown translate to h1, h2, h3, etc.
# Heading 1
## Heading 2
### Heading 3
#### Heading 4
##### Heading 5
Creating Lists
Resumes often contain bulleted lists, which are incredibly easy to create in Markdown. The list below translates into a simple unordered list.
- list item 1
- list item 2
	- list item 2A
	- list item 2B
- liest item 3
Creating Links
A modern resume needs links to allow the reader to access important details easily.
This is some content with a [link](https://stellarpages.app).Creating a Resume Header
Our document also needs a header. This part is trickier unless you want something very basic. A structured header using HTML allows better control over the layout.
<header>
	<div>
		<h1>Your Name</h1>
		<p>Your Title</p>
	</div>
	<div>
		<ul>
			<li>email@example.com</li>
			<li><a href="#">LinkedIn/your-name</a></li>
			<li>123-456-7890</li>
		</ul>
	</div>
</header>
Creating the First Page
Start by creating a new Markdown document in your favorite Markdown editor such as Obsidian. You can copy and paste the following example to get up and running quickly. Focus on content first; don’t worry about appearance yet.
Below, the document includes:
- Document Header – Quick overview of who you are and important contact information. This at the top of each page.
# Experience– Anh1heading to indicate sections such as “Experience,” “Education,” “Volunteer Work,” etc.## Title, Workplace– Anh2header for work experience.### Location | 01/2022 - Current– Anh3header for location and dates.- Detail line item– A simple bullet item.[page-end]– A manual page break for Stellar Pages.- Repeating the structure for additional experience, education, etc.
<header>
<div>
<h1>Your Name</h1>
<p>Your Title</p>
</div>
<div>
<ul>
<li>email@example.com</li>
<li><a href="#">LinkedIn/your-name</a></li>
<li>123-456-7890</li>
</ul>
</div>
</header>
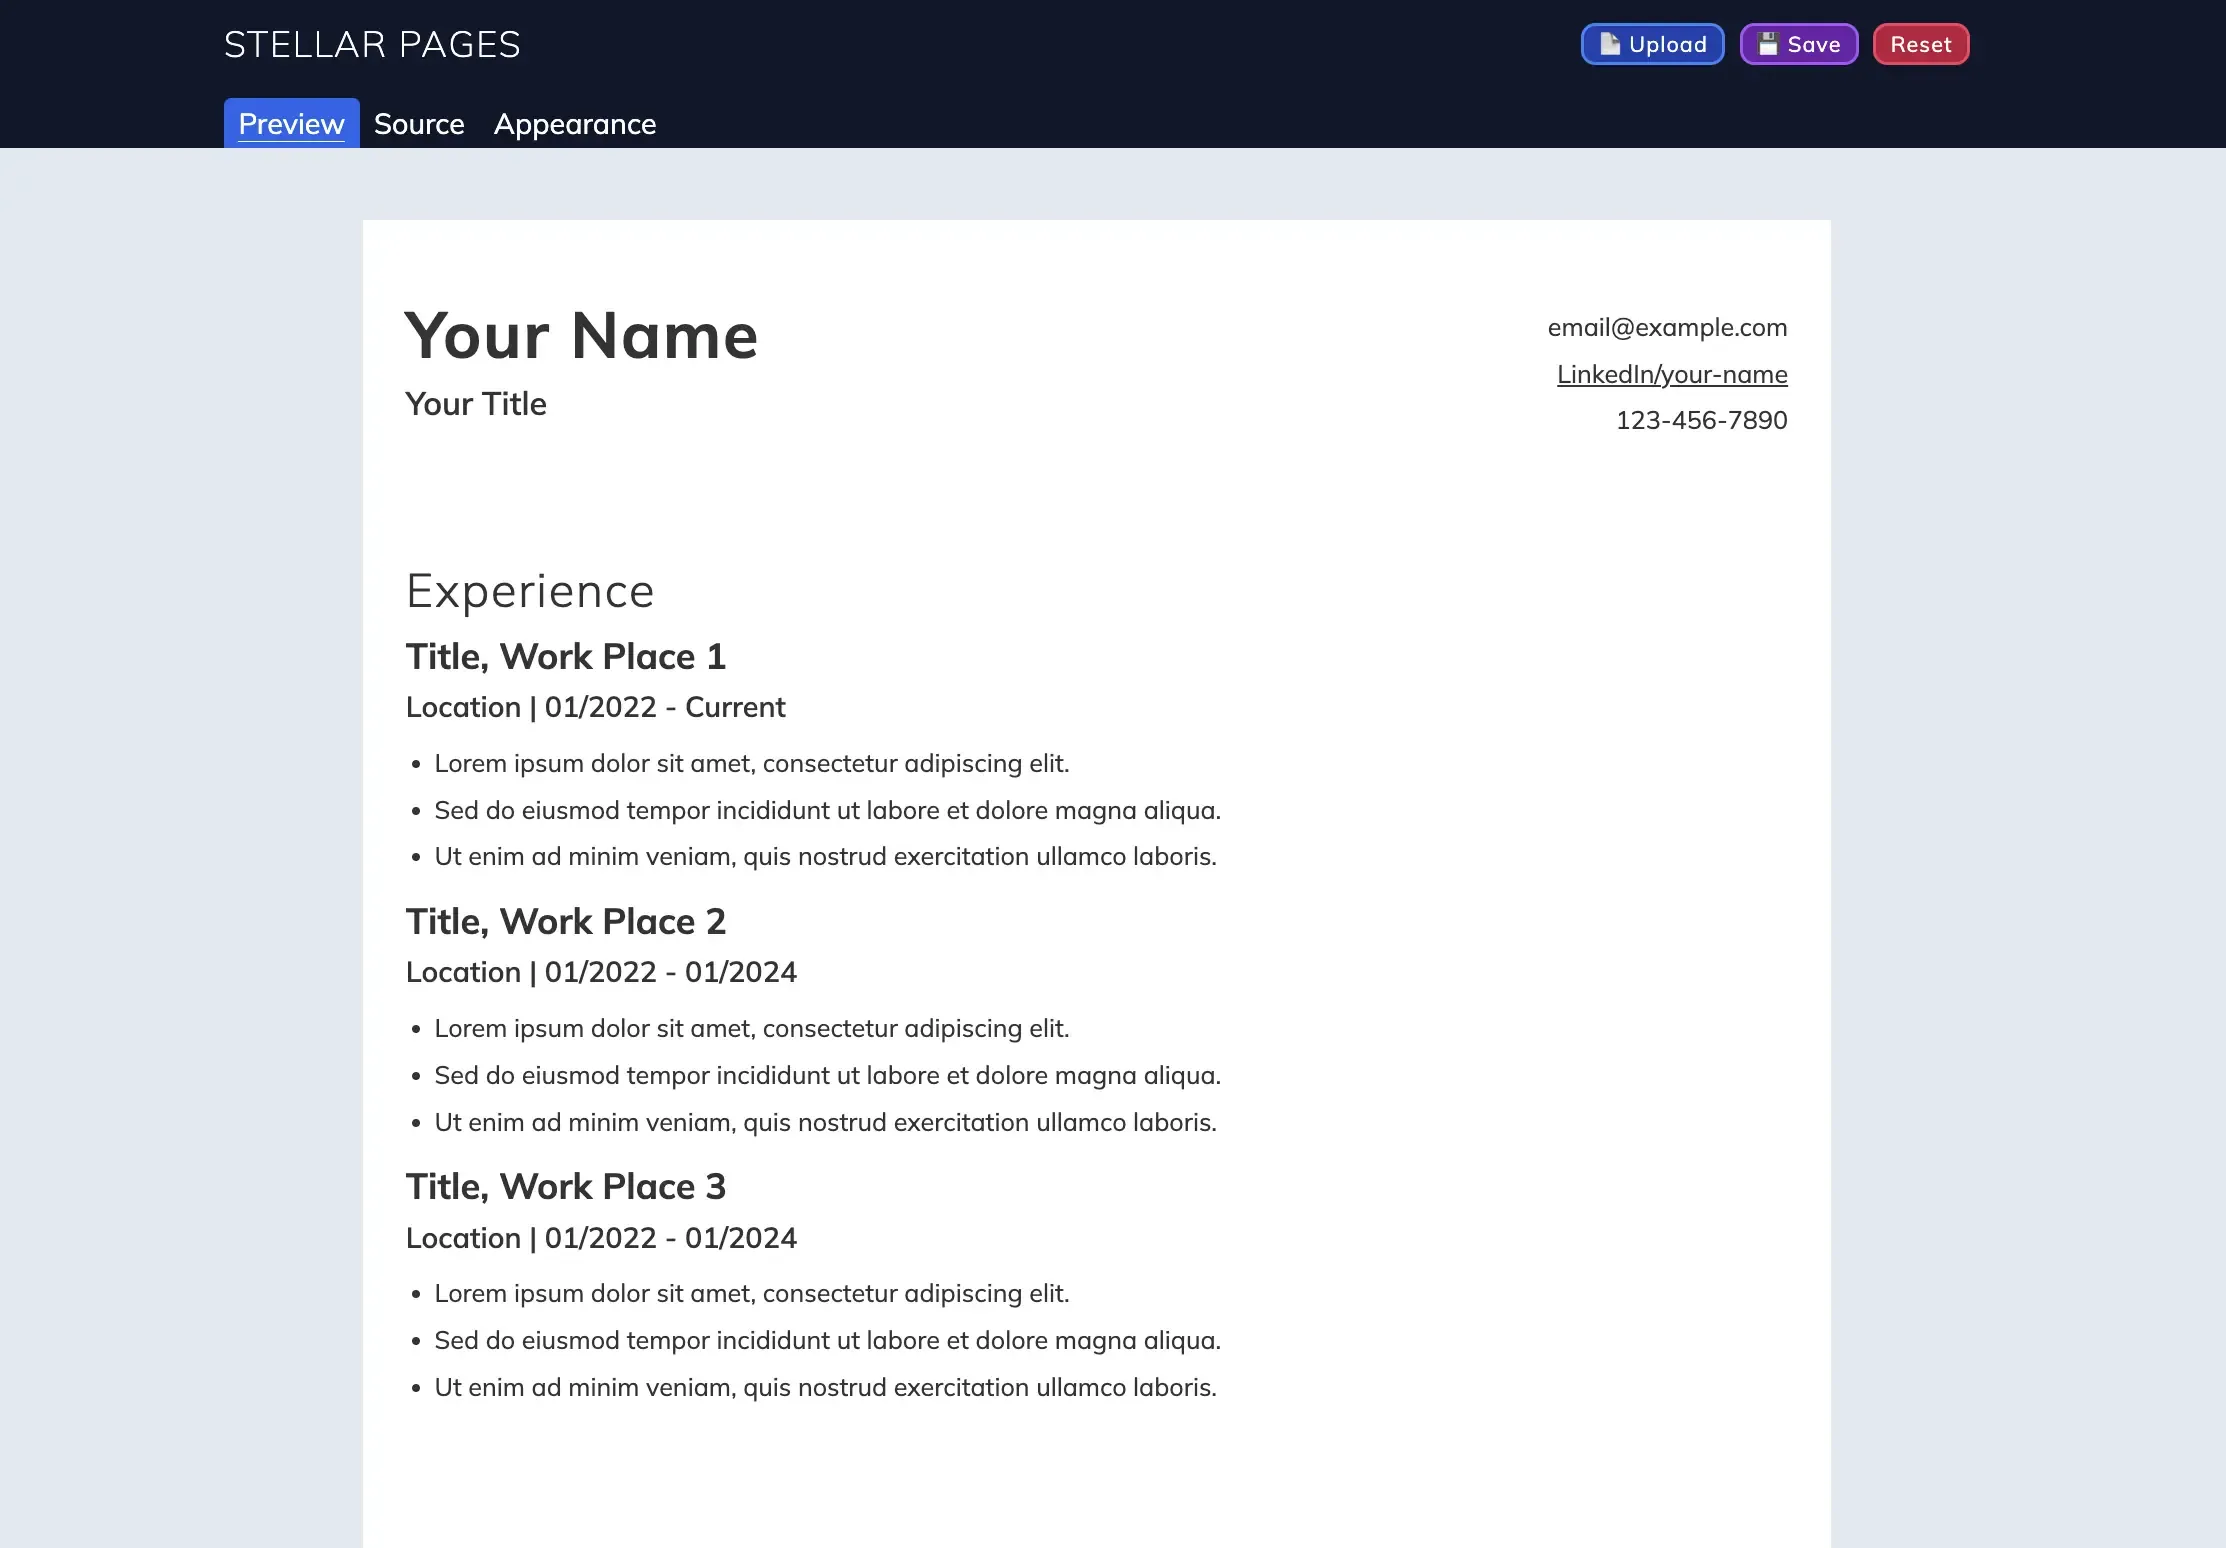
# Experience
## Title, Work Place 1
### Location | 01/2022 - Current
- Lorem ipsum dolor sit amet, consectetur adipiscing elit.
- Sed do eiusmod tempor incididunt ut labore et dolore magna aliqua.
- Ut enim ad minim veniam, quis nostrud exercitation ullamco laboris.
## Title, Work Place 2
### Location | 01/2019 - 01/2022
- Lorem ipsum dolor sit amet, consectetur adipiscing elit.
- Sed do eiusmod tempor incididunt ut labore et dolore magna aliqua.
- Ut enim ad minim veniam, quis nostrud exercitation ullamco laboris.
## Title, Work Place 3
### Location | 01/2015 - 01/2019
- Lorem ipsum dolor sit amet, consectetur adipiscing elit.
- Sed do eiusmod tempor incididunt ut labore et dolore magna aliqua.
- Ut enim ad minim veniam, quis nostrud exercitation ullamco laboris.
[page-end]
<header>
<div>
<h1>Your Name</h1>
<p>Your Title</p>
</div>
<div>
<ul>
<li>email@example.com</li>
<li><a href="#">LinkedIn/your-name</a></li>
<li>123-456-7890</li>
</ul>
</div>
</header>
# Education
## Name of your degree or schooling
### Location | Date
## Name of your degree or schooling 2
### Location | Date
## Name of your degree or schooling 3
### Location | DateStyling
Now it’s time to shape your document. Whether you’re an expert at styling or a beginner, it only requires a basic understanding.
You can use LLMs such as ChatGPT to generating styles.
Configuring Pages
If you’d like to change the spacing of the page you can do so easily using the CSS padding rule on the .page selector.
Below we’re going to apply page padding. Using the padding rule we’re declaring the page top has a padding of .5in, the left and right of the page has a padding of .25in, and page bottom has a padding of .3in. Also, we’re setting a color for all content on the page.
Note: You can use any values available in CSS you like instead of inches such as px, rem, cm, mm.
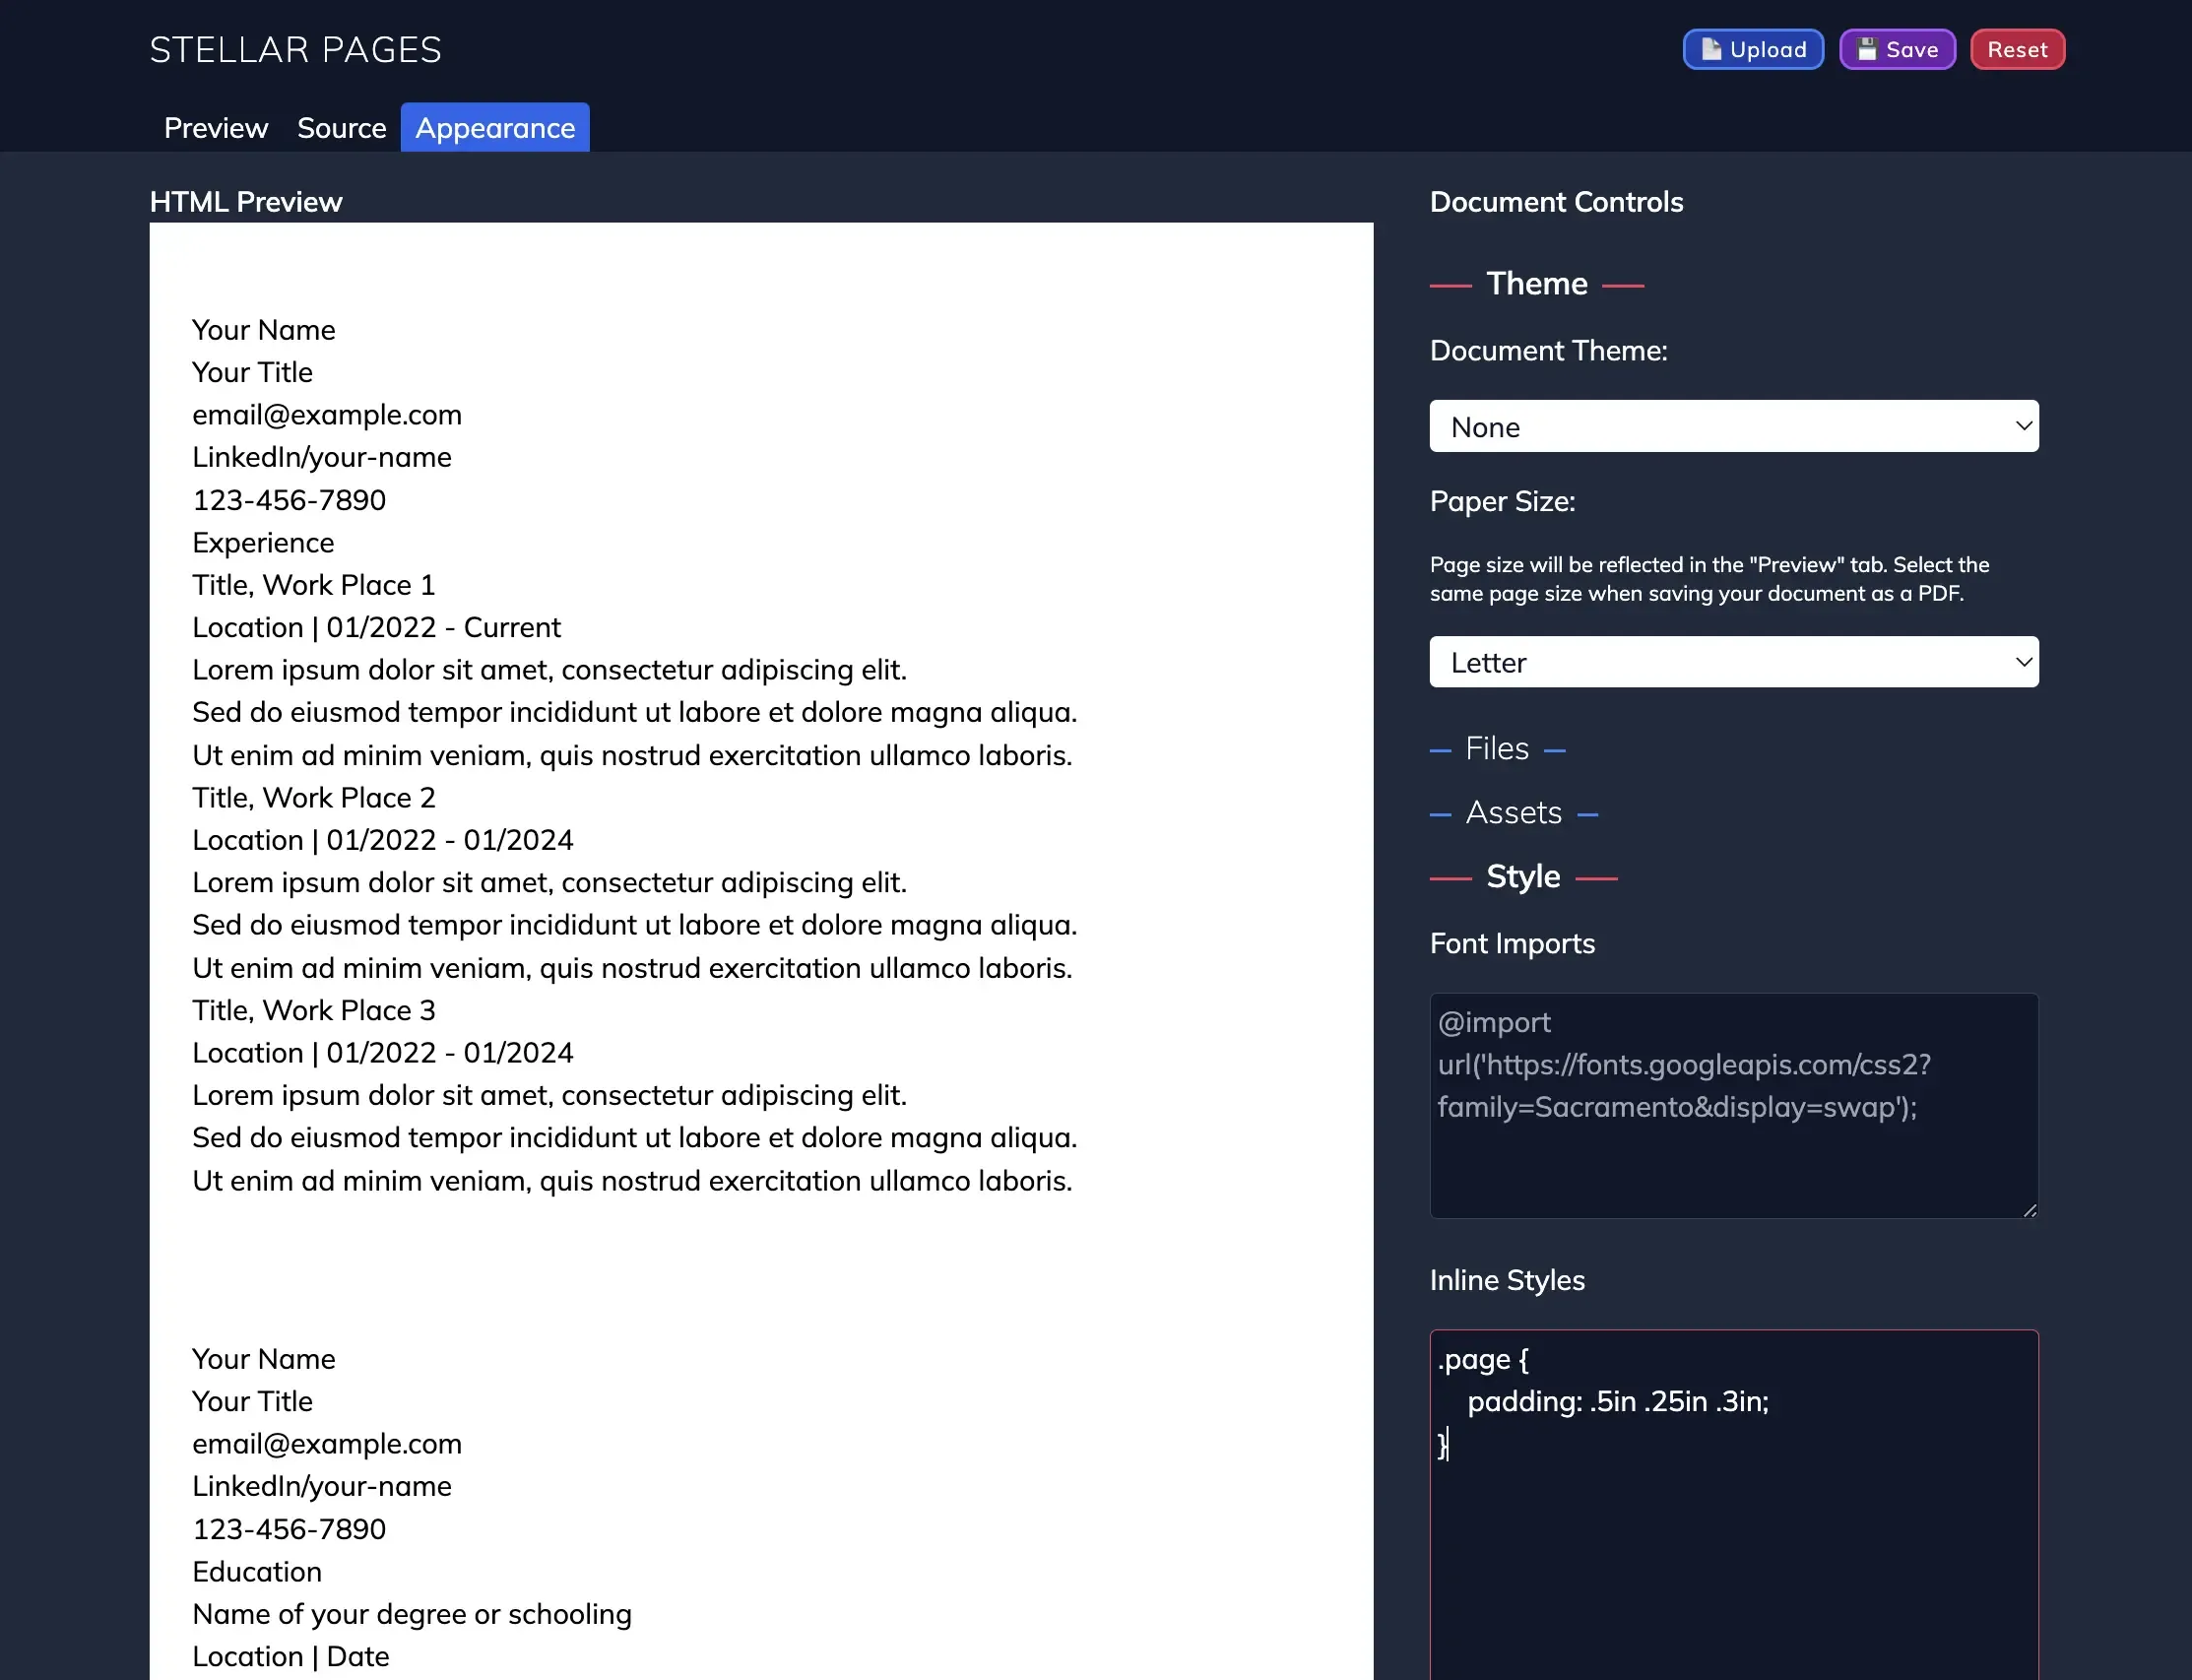
.page {
color: #333;
padding: .5in .25in .3in;
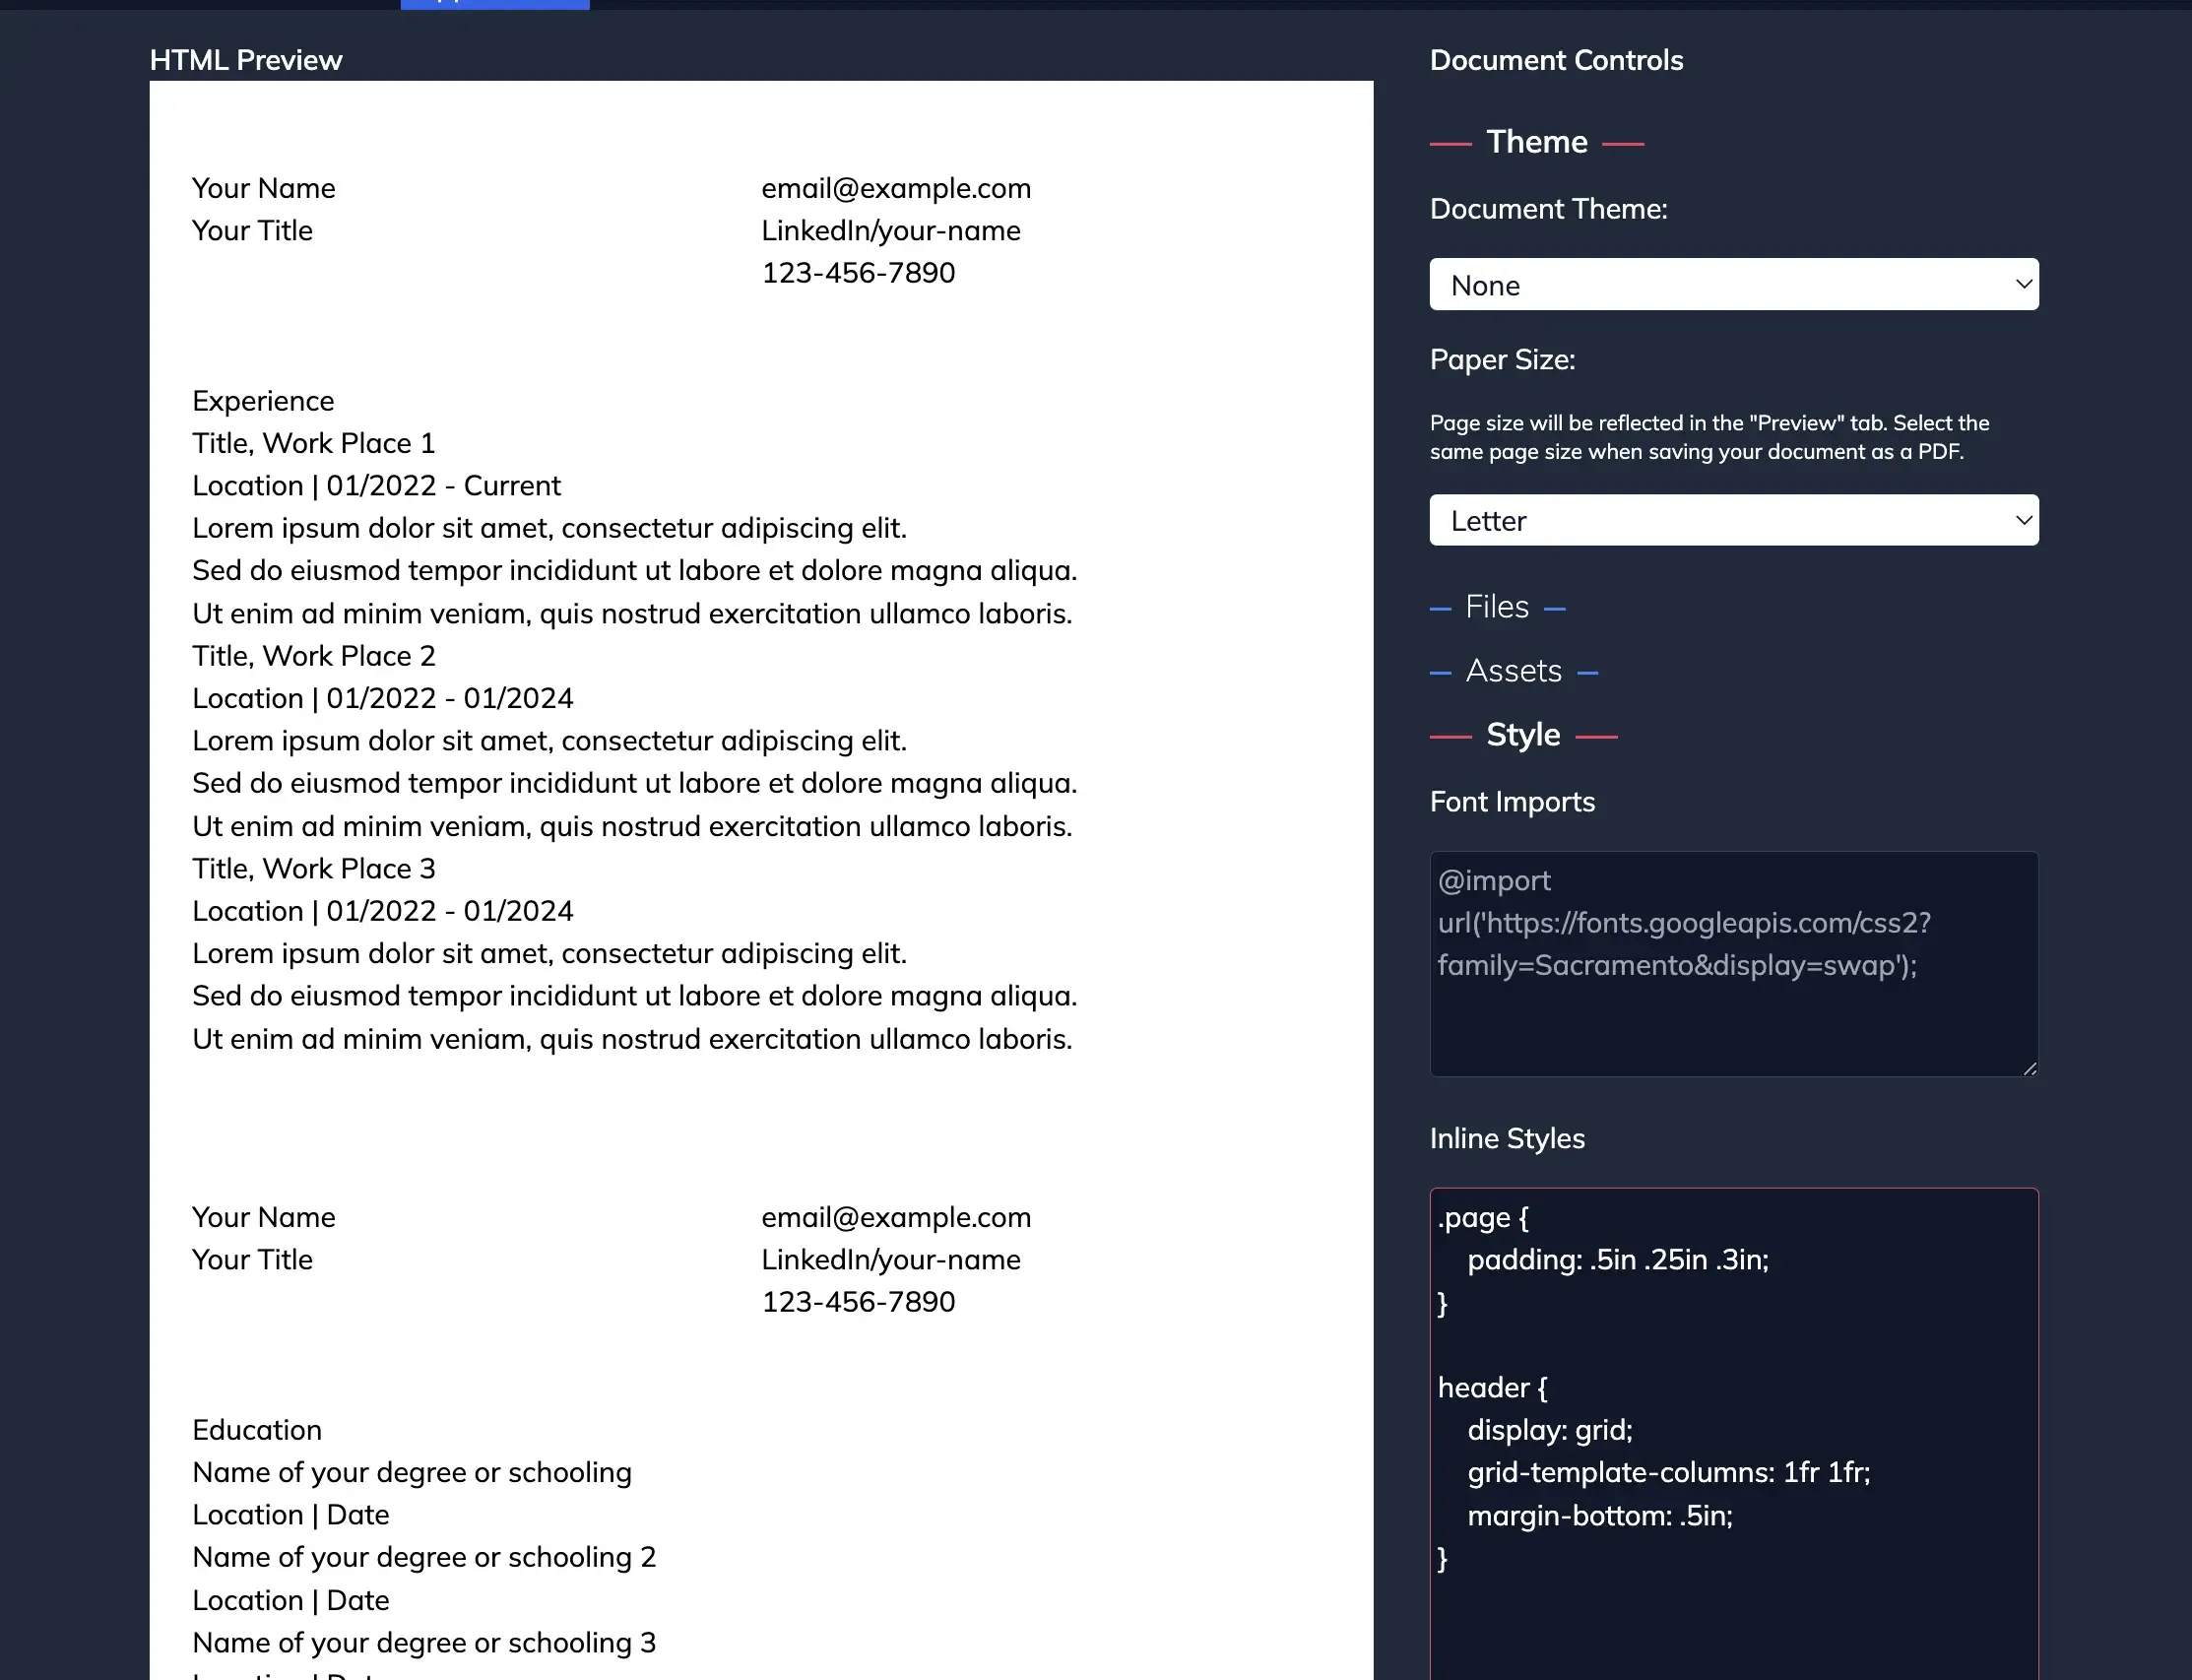
}Making a Two Column Header
The header is slightly more complex since it uses HTML. We’ll use CSS grid to create a simple two-column layout.
header {
	display: grid;
	grid-template-columns: 1fr 1fr;
	margin-bottom: 24px;
}
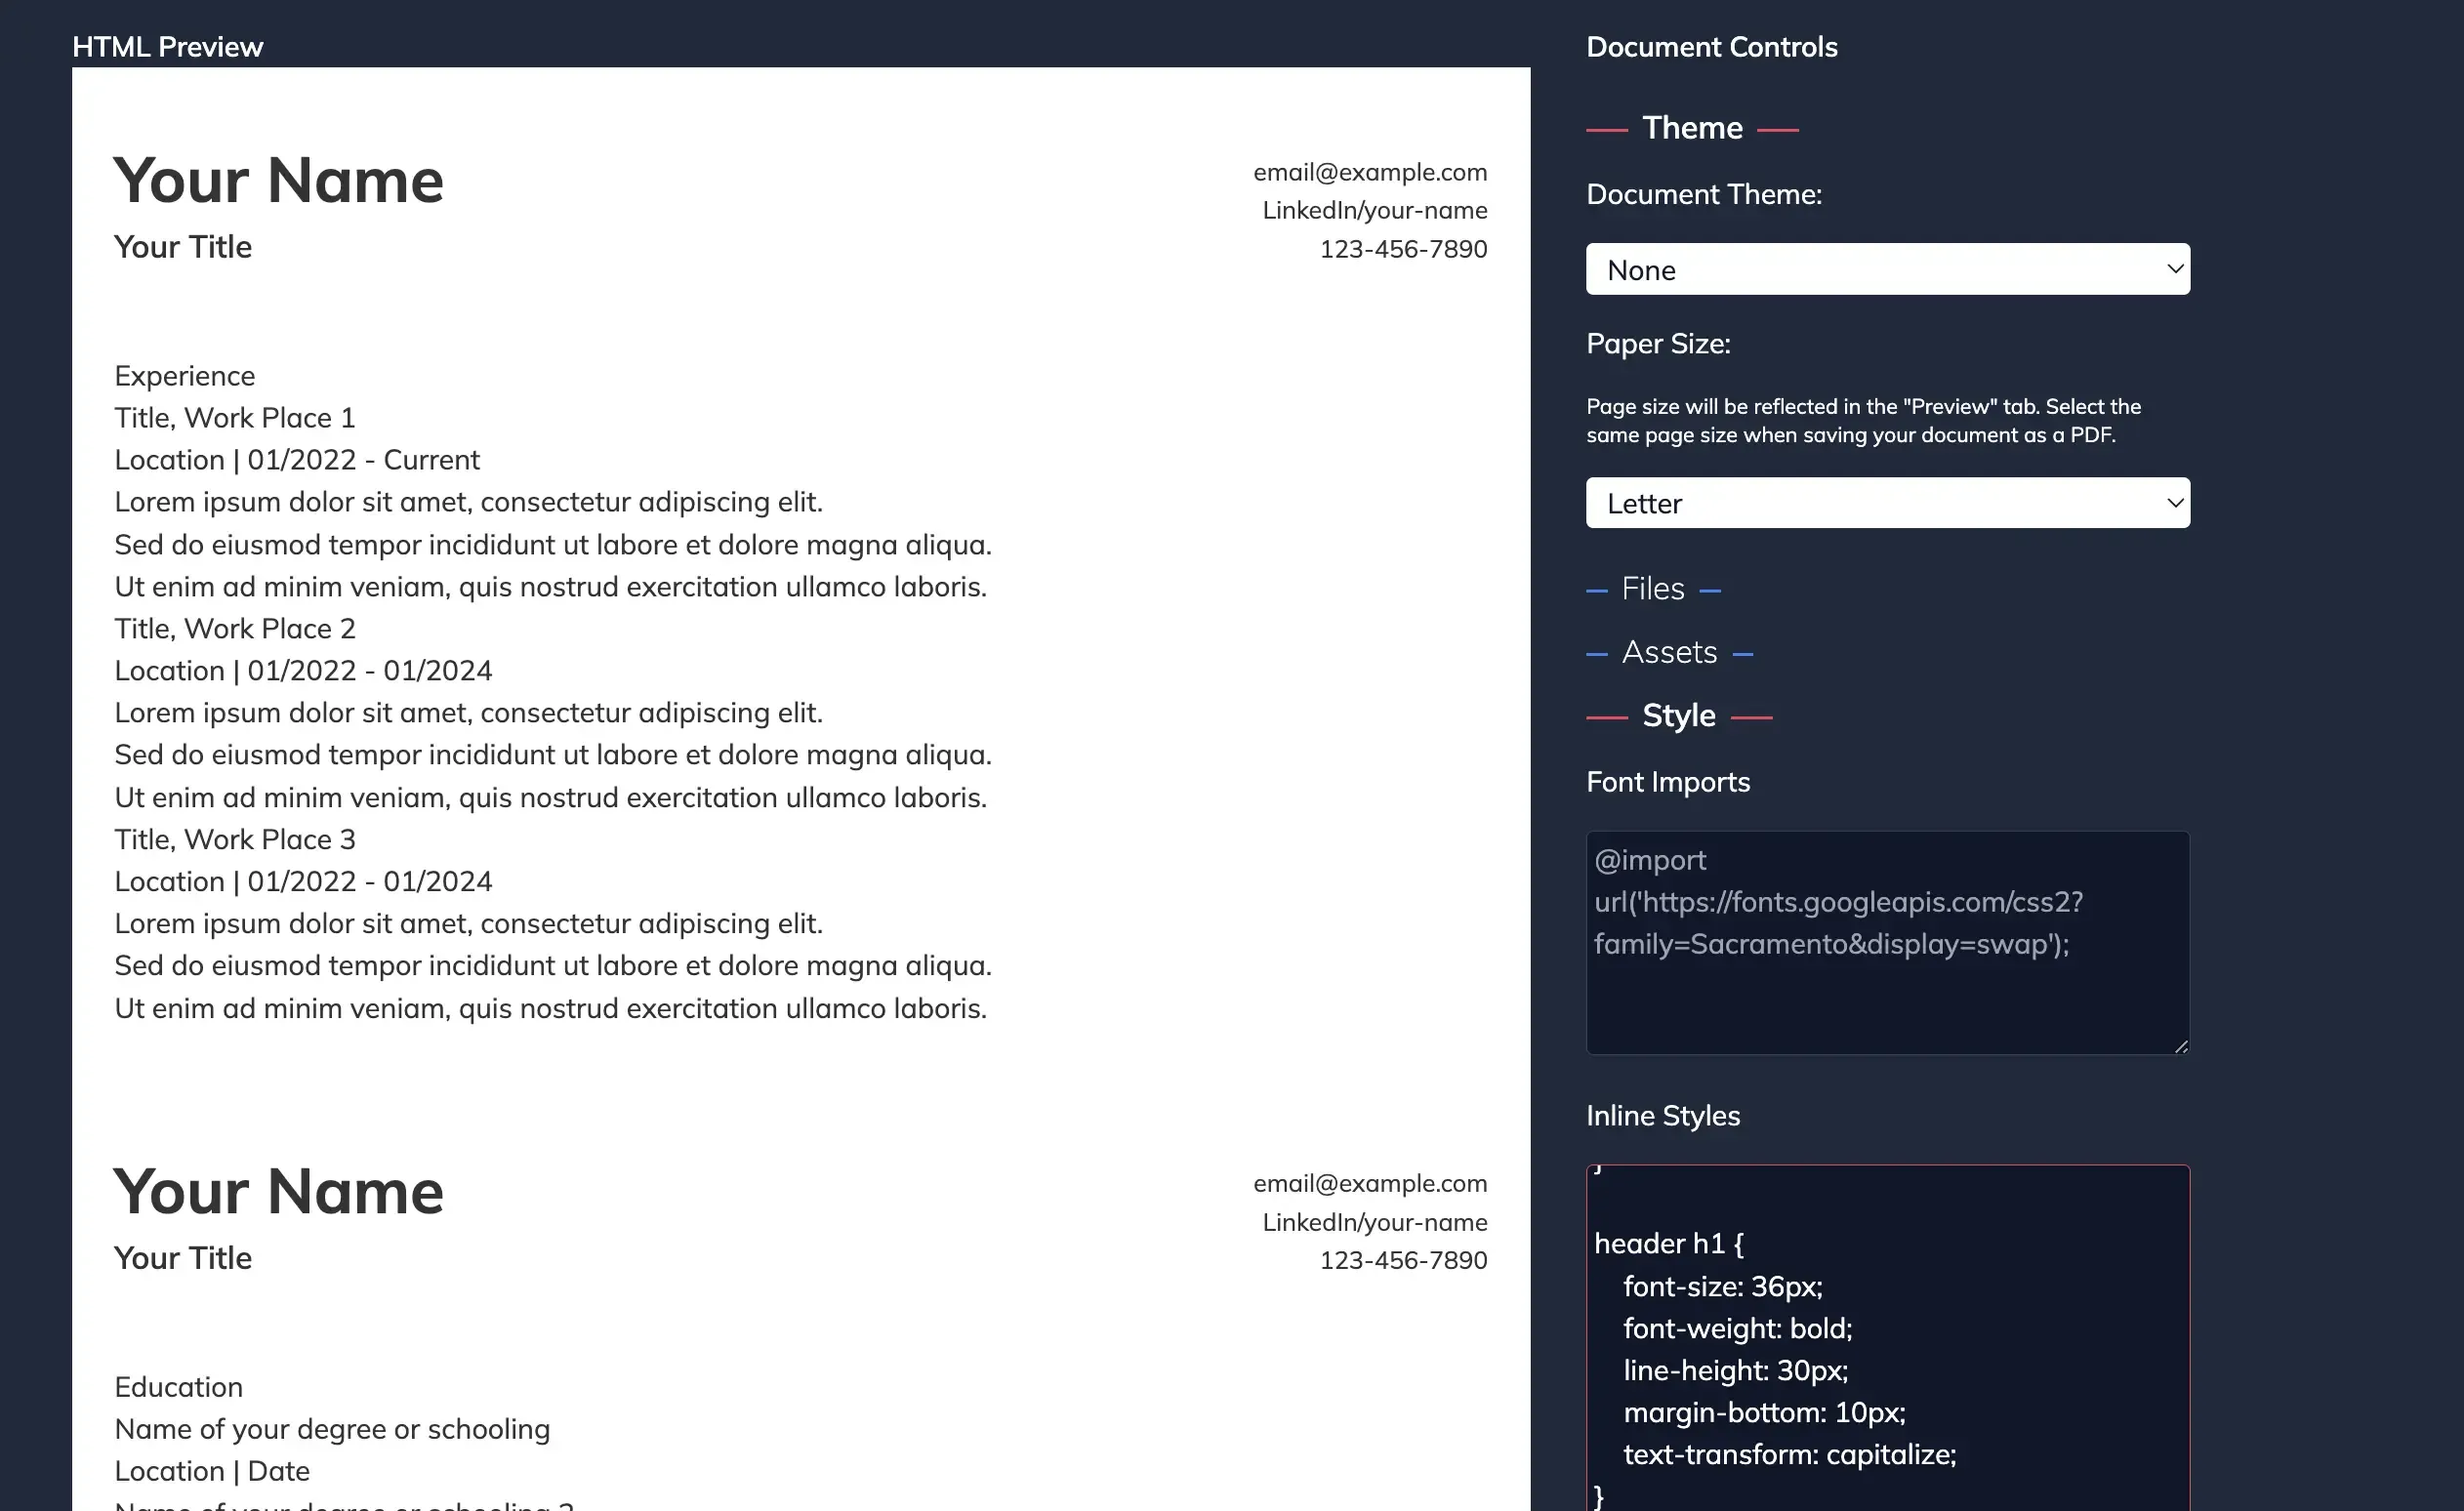
Styling Header Content
Once we have a two-column structure, we can apply styles to target the content within the header.
header h1 {
	font-size: 36px;
	font-weight: bold;
	line-height: 30px;
	margin-bottom: 10px;
	text-transform: capitalize;
}

header p {
	font-size: 18px;
	font-weight: 600;
}

header ul {
	font-size: 14px;
	text-align: right;
	list-style: none;
}

header li {
	line-height: 22px;
	margin-bottom: 0;
}
Styling General Content
Next, we add basic styles to the content. This part is very similar to the heading text styles. We only mainly need to think about margin, padding, line-height, and font-size.
h1 {
	font-size: 26px;
	font-weight: 300;
	letter-spacing: 1px;
	margin-bottom: 24px;
}

h2 {
	font-size: 20px;
	font-weight: 700;
	line-height: 13pt;
	margin-bottom: 8px;
}

h3 {
	font-size: 16px;
	font-weight: 600;
	margin-bottom: 8px;
}

/* When a h2 directly follows an h3 */
h3 + h2 {
	margin-top: 24px;
}

ul {
	list-style: disc;
	margin-bottom: 16px;
	padding-left: 16px;
}

li {
	font-size: 14px;
	line-height: 22px;
	margin-bottom: 4px;
}

a {
	text-decoration: underline;
}
Now, make it yours
Now that you have a simple layout, take time and personalize it. Finalize your content, adjust font sizes, spacing, colors, and anything else.
Make sure to check how your document looks in the “Preview” tab as this will be the closest representation of how it looks as a PDF.
Saving Your New Resume
When you’re happy with the document, save it using Stellar Pages:
- Use the “Save” option.
- Configure the save settings: set “Margin” to “None” and “Paper Size” to “Letter.”
- Save the document.
You now have a complete resume. Save a copy of your styles some for future updates.

Takeaways
Managing your resume in Markdown allows you to easily make changes later. You can leverage LLMs like ChatGPT for tone adjustments, grammar checks, and style generation. Markdown is easy for LLMs to process, making it a powerful format for document creation.